
How to Master Wedding Lighting
May 20, 2025
Aside from the camera and our opposable thumbs, lighting is one of the most critical tools in a photographer’s capability. Mastered, it will transform your photographs from “meh” to awesome. It helps you to tell a wedding story without distracting from it, shaping moments with softness, intensity, or drama depending on the feel you want to communicate. Done poorly, it draws attention to itself and often results in photographs that feel off, so if you want to know how to master wedding lighting you’re in the right place.
Understanding how to master wedding lighting isn’t just about technical know-how. It’s about anticipating real-world situations in real-time, adapting to change, and using your equipment with intention. In this little guide, I’ll walk you through not just the practical tools I’ve developed since launching my business in 2012, but also the mindset I bring into every celebration I photograph. From fashion studios to BBC celebrities and now to luxury weddings across Kent and Cambridge, light has always been a central language in my work.

Why Knowing How to Master Wedding Lighting Matters More Than You Think
Light is everywhere. Genesis 1 verse 3, right? It’s the difference between a soft, romantic portrait and a dynamic, high-energy dance floor moment. But beyond its creative uses, light plays a functional role. It allows your camera to do its job well. Whether you’re working with natural light, flash, or a mix of both, understanding how to shape it and control it is essential to producing work that is both technically solid and emotionally vibey.
As someone who’s photographed everything from candlelit chapels to bright summer ceremonies, I can tell you that there’s no such thing as “perfect lighting conditions.” (although shade sure helps). What matters is how prepared you are and how well you can adapt to know how to master wedding lighting.
Real-World Lighting Challenges: Midday Sun and Candlelit Cathedrals
Wedding days rarely follow a perfect script when it comes to lighting, and that’s part of what makes knowing how to master wedding lighting so rewarding. I’ve faced a range of tricky scenarios that have pushed me to think creatively and trust my technical skills. Here’s a couple of them.
Hot & Bright
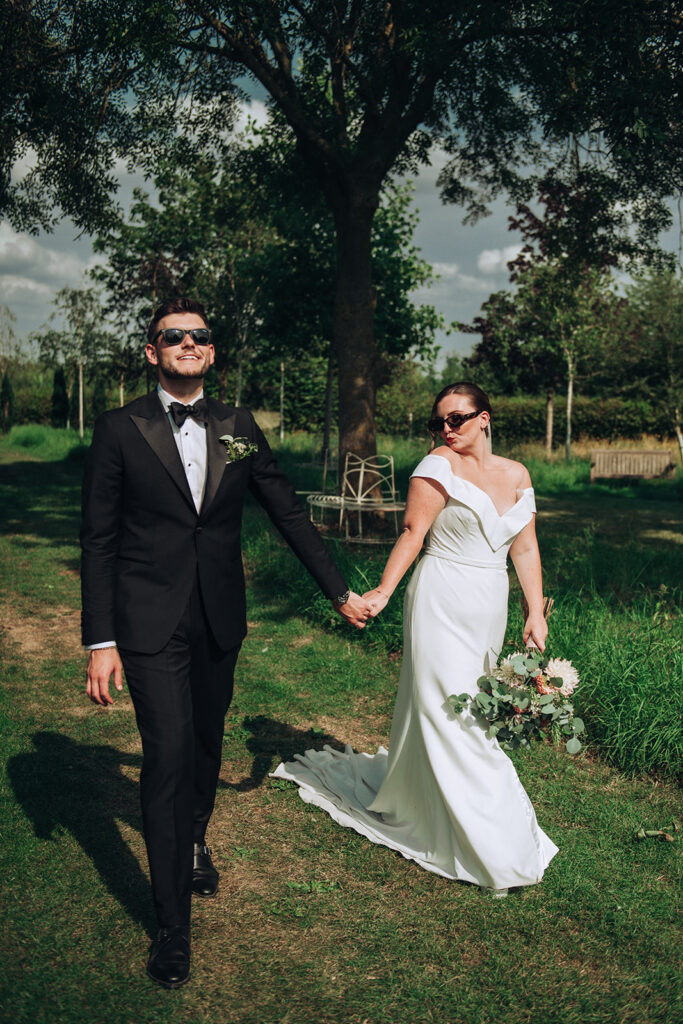
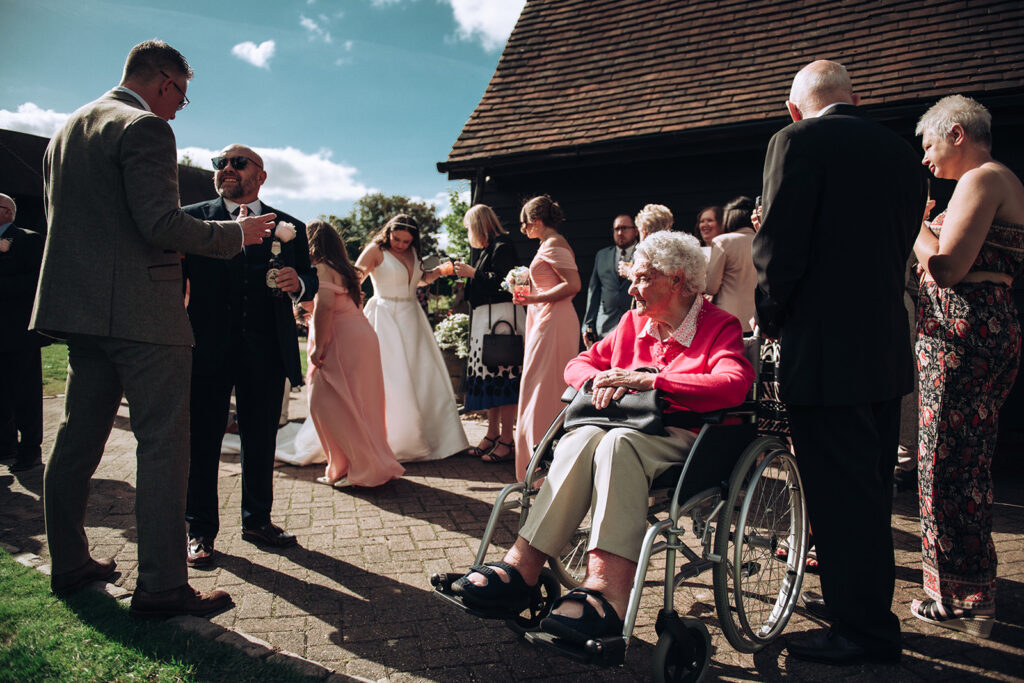
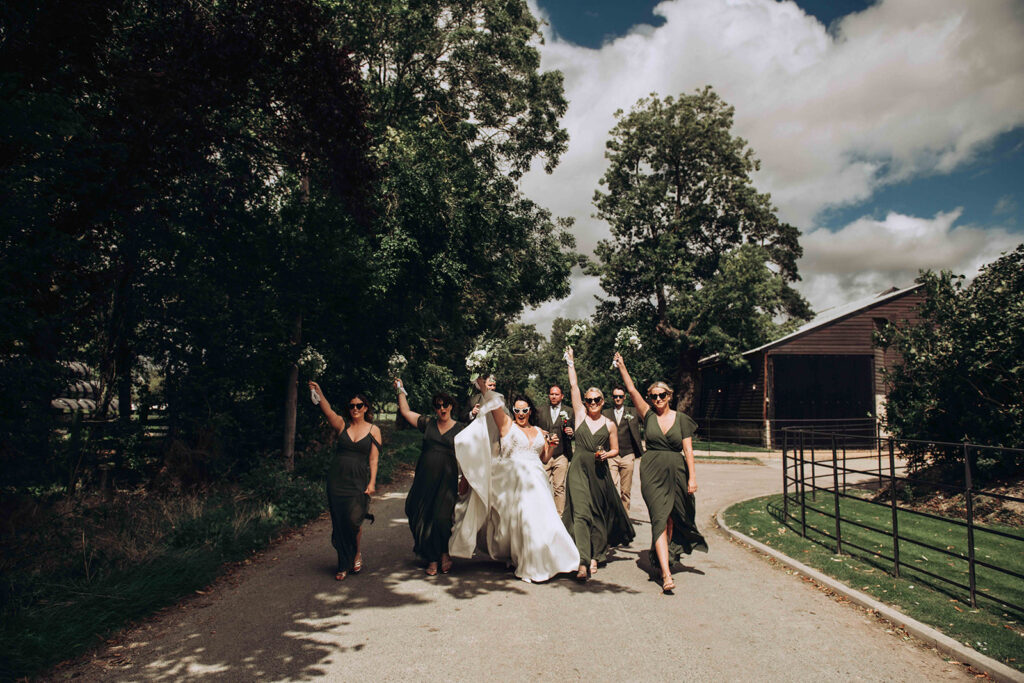
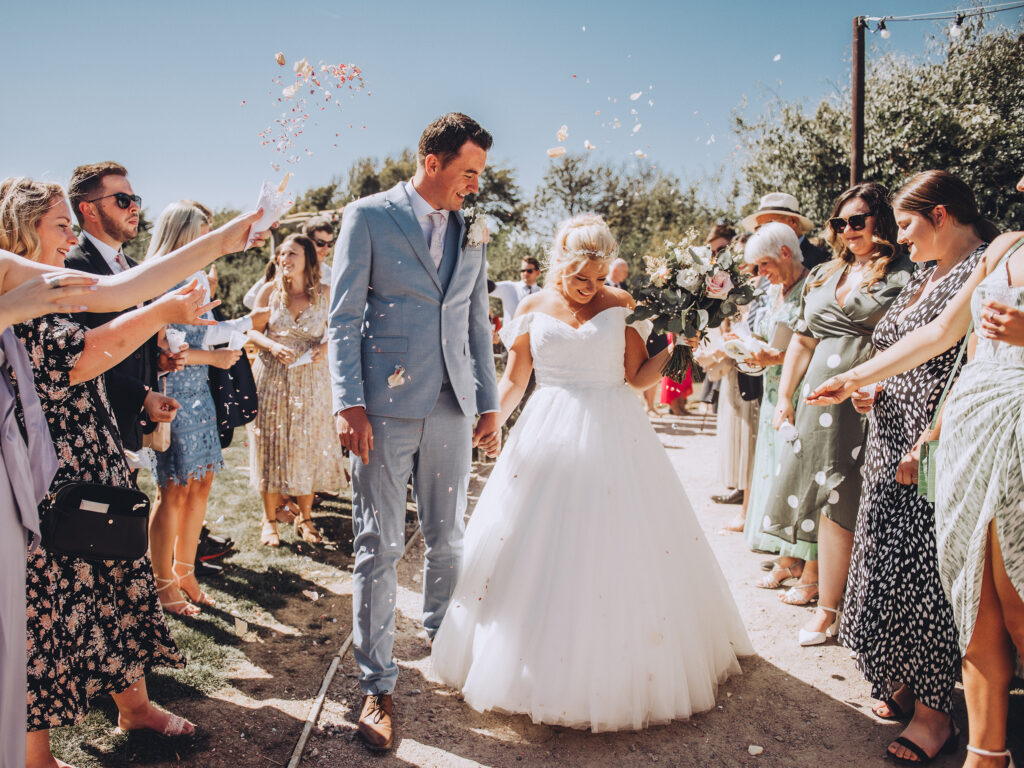
One particularly memorable challenge came on the hottest day of the year in Cambridge. I’m talking 42 degrees with no wind. The midday sun was brutal, bright, harsh, and casting unforgiving shadows across every face. Shooting in that kind of light can easily lead to blown-out highlights or squinting subjects. To handle this, I consciously chose smaller apertures when people were directly lit by the sun, which helped control exposure and maintain detail across the frame.
But I didn’t rely on technical fixes alone. I positioned myself so that my subjects were often backlit, creating a beautiful glow around them while avoiding harsh shadows on their faces. For the couple portraits, I took advantage of shaded areas nearby, mixing soft, diffused light with moments of gentle sunlight. This variety added depth and mood to the images, balancing the intensity of the bright sun with more intimate, flattering lighting.
Dark and Then More Dark
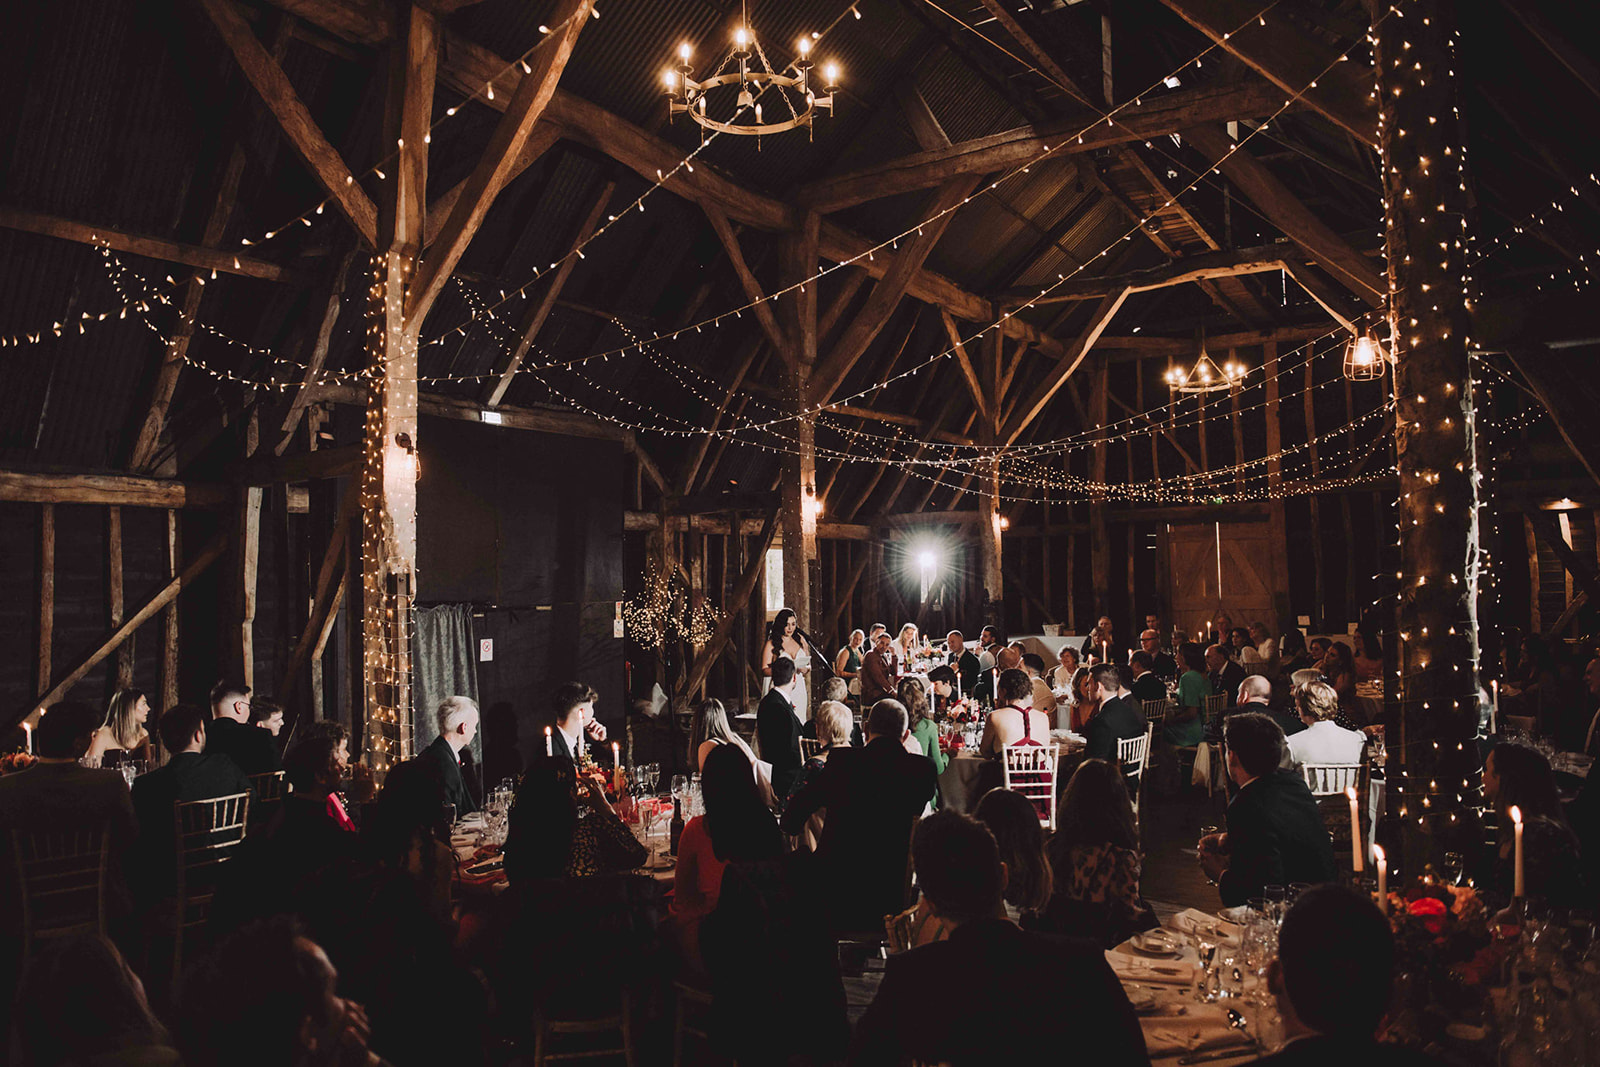
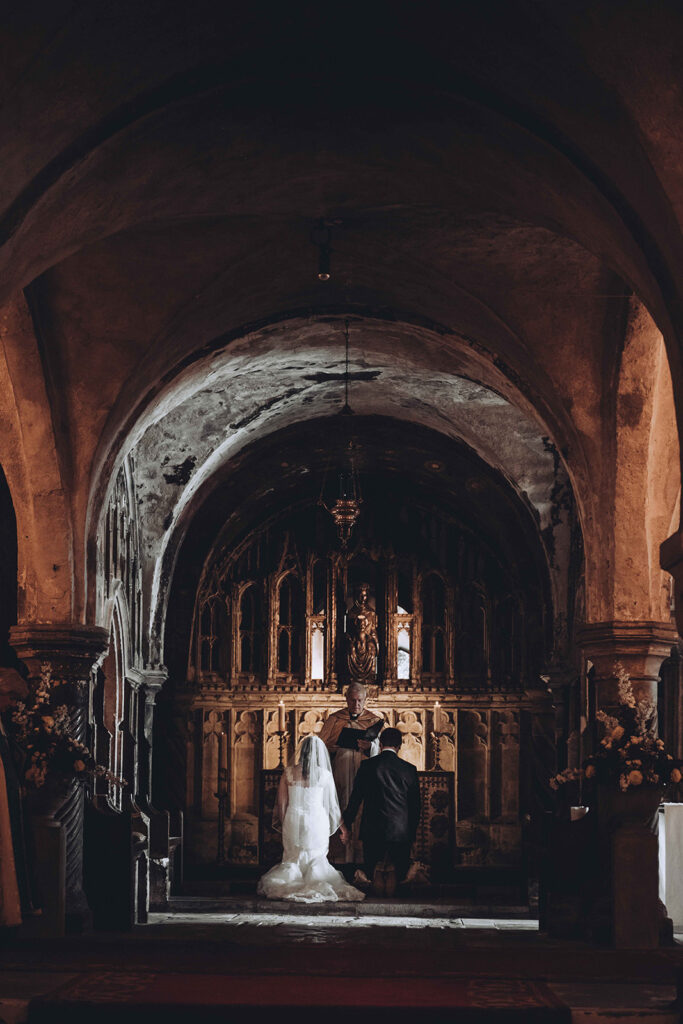
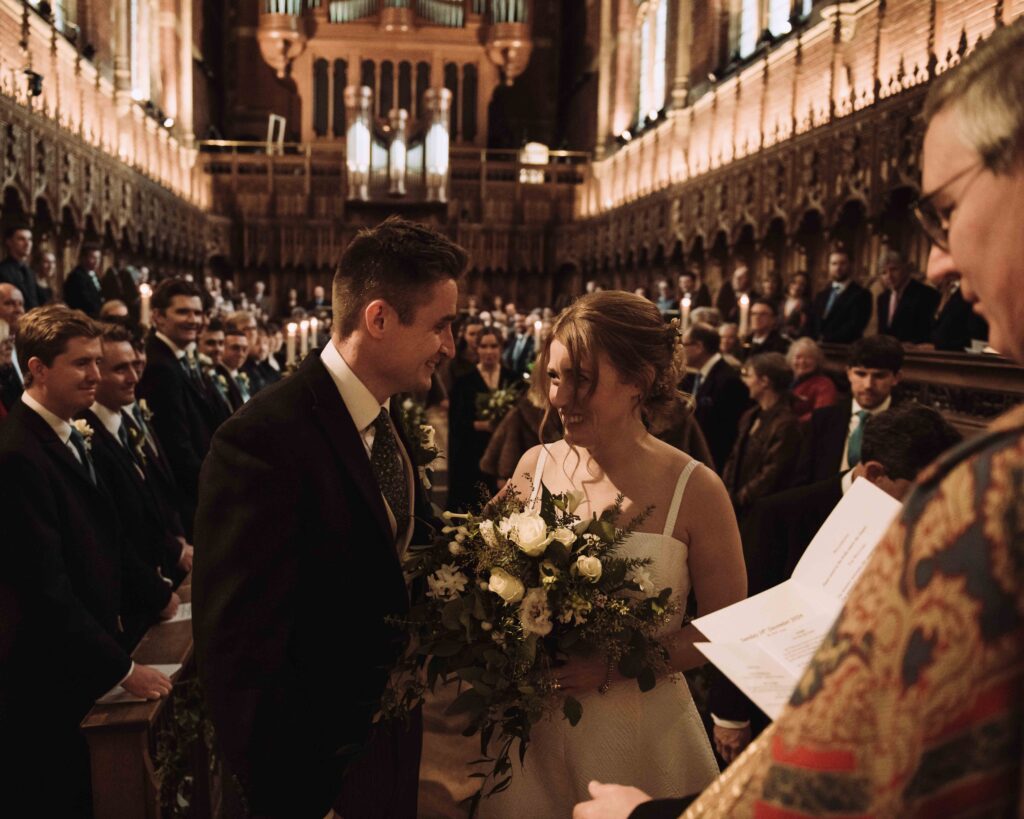
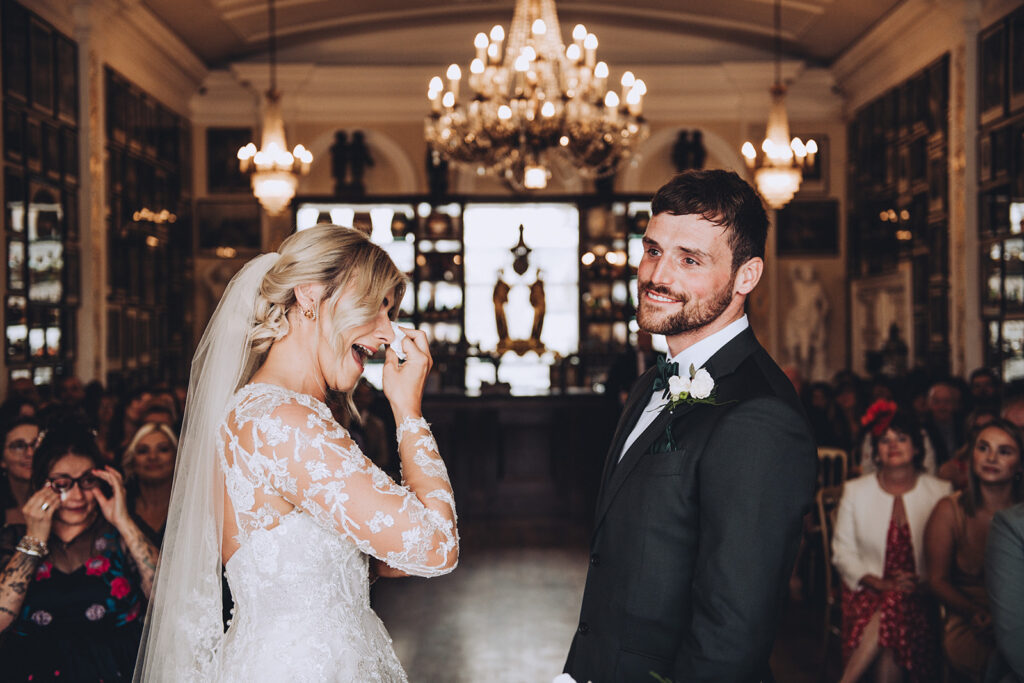
On the opposite end of the spectrum, let’s talk about a dark scenario. I once photographed a ceremony held in the crypt of Canterbury Cathedral. It was an environment of almost complete darkness, with no window light and only flickering candles to illuminate the scene. The atmosphere was breathtaking but challenging from a photographic perspective. In those conditions, I pushed my ISO higher than usual, embracing the grain as part of the mood rather than fighting it.
I opened my aperture as wide as possible to capture every sliver of light and slowed the shutter speed to allow more exposure time, carefully balancing the need to avoid motion blur. This meant working with a steady hand and anticipating moments of stillness from my subjects. The result was a set of images that felt authentic and reverent, capturing the ambience of the crypt without artificial light overpowering the natural atmosphere.
These examples highlight how mastering wedding lighting is as much about adaptability and understanding your environment as it is about technical settings. It’s about reading the conditions, making decisions quickly, and knowing how to use your kit in service of the story unfolding before you.
Also, nowadays “direct flash” is in fashion, so if the venue allows, don’t be afraid to shoot a few with your flash on your camera via ttl settings and see how it feels.
Invest in the Right Gear, and Know It Inside Out to know how to master wedding lighting
The reality is mastering lighting starts with your tools. A full-frame camera is essential. The larger sensor allows more light to hit it, which improves performance in low light and results in better dynamic range and detail retention. In recent years, I’m preaching mirrorless systems, especially for dark environments, where they really come into their own. The real-time exposure preview alone can be a game changer when you’re under pressure.
That said, mirrorless systems do come with a few trade-offs. Battery life can be a challenge, especially if you’re shooting 12 hours straight. Overheating is another potential issue, particularly in warm climates or when shooting in continuous shutter mode with multiple frames. But despite these drawbacks, the image quality, size, and adaptability often outweigh the limitations, particularly when paired with fast prime lenses. My preferred is my 24-70mm 2.8 lens for how versatile it is.
Camera Choice
When second shooting or mentoring, I often recommend Canon or Nikon for their colour science, reliable autofocus, and strong lens options. Ultimately, it’s not just about what brand you choose (I’m Nikon for now, with my eye on the Canon R5ii) it’s about how well you understand your kit. Weddings are not the place to learn your camera. You need to know exactly how it behaves in different lighting conditions, how it meters, how it handles mixed light, and how quickly you can switch between modes or settings.
Basics like a wide aperture are worth noting which will let in more light and give you that dreamy shallow depth of field. Low ISO will keep your image clean, but in darker conditions, you’ll need to find a balance. Fast shutter speeds are great for motion, but they reduce light intake. It’s all about trade-offs. And this only works if you’ve trained your eye and your hands to respond instinctively. Practice to know how to master wedding lighting is KEY.
Timings Are Everything, Plan Ahead to Light With Intention
One of the most overlooked aspects of lighting in wedding photography is timing. Great lighting is often about being in the right place at the right time, with a clear understanding of the schedule. That’s why I always take the time to meet with couples in advance to go over their timeline in detail. If there’s a planner involved, I’ll have a separate conversation with them too. Teamwork is essential.
This isn’t just about logistics, it’s about understanding when natural light will be available, what direction it’ll be coming from during the ceremony, and when it’s likely to fade. Golden hour portraits don’t just happen by luck. They require forethought and knowledge where the sun will set.
When you understand the rhythm of the day, you’re far less likely to be caught off guard, and far more likely to use the light available to its full potential. As the saying goes, proper planning, or practice, prevents poor performance. This couldn’t be truer in wedding photography. The more you KNOW your lighting setups and your gear the more confident and agile you’ll be when it’s time to work.
Working With the Sun, Embrace Don’t Fear It
Natural light is powerful, but it’s also unpredictable. Midday sun can be harsh and unflattering, but if you know how to work with it rather than against it, you’ll find opportunities in places others might avoid.
When shooting in strong sunlight, don’t be afraid to stop down your aperture if needed. A smaller aperture isn’t always popular, but it looks rad’ and can help reduce overexposure and increase sharpness across your frame. Alternatively, if you’re keen to keep your aperture wide open for background blur and a soft aesthetic, a neutral density (ND) filter can be a lifesaver. It allows you to shoot wide without overexposing your image. Basically, it’s like putting a black out window in front of your camera lens.
Pay attention to shadows, both how they fall and how they define shape. Backlighting can create a beautiful rim of light around a subject, while side lighting can add dimensionality. Learn to read the light rather than resist it. This mindset makes a huge difference.
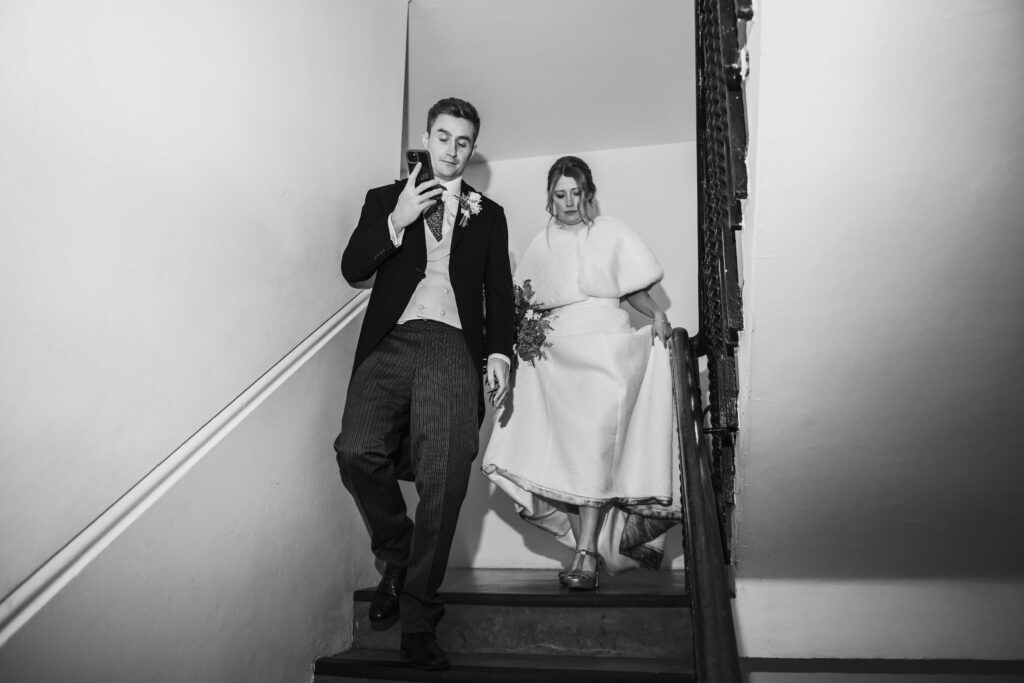
When It’s Dark, Raise the ISO and Embrace the Grain
One of the biggest mistakes I see newer photographers make is being afraid of high ISO. They’ll underexpose SO much that when they bring the photos into Lightroom there isn’t enough data and it ends up grainy anyway. But noise isn’t the enemy. In fact, in many cases, it can add a softness and texture that gives images a film-y, organic feel, especially when editing in a style that mimics film (that’s me).
In low-light conditions, like speeches or a first dance, you’ll often need to push your ISO higher than you’re comfortable with. That’s okay. Modern full-frame cameras handle high ISO surprisingly well. It’s better to have a sharp, well-exposed image with some noise than a blurry or underexposed one that loses the moment entirely. My favourite is off camera flash for situations like this, more of that next.
Use Flash With Purpose, Not Panic
Flash is a tool that many are afraid to master. There are moments when natural light won’t be enough, such as dark venues, winter weddings, or fast-paced dance floors. In these scenarios, having a reliable flash setup and knowing how to use it well is essential.
Start by learning the difference between direct flash, bounced flash, and off-camera flash. Direct flash can be harsh, but bounced flash, especially when aimed at a white wall or ceiling, can create a beautiful, diffused effect. Off-camera flash opens up even more creative options, from dramatic backlighting to subtle fill light that mimics natural sources.
Just make sure you’re aware of your camera’s sync speed. Exceeding this can result in black bands across your image unless you’re using high-speed sync. Always test your setup before the moment arrives. Weddings move fast and this really isn’t the time to troubleshoot.
Authentic Editing, Recreating Filmic Light in Post
Lighting doesn’t end in camera, it’s your edit which is where you bring the image to life. If your style leans towards a natural, editorial, or film-inspired look, like I have said mine does, then consistency in your approach to colour, contrast, and exposure is key.
I’ve spent years developing a post-processing workflow in Lightroom that reflects the emotion and tone of the day while staying true to the natural light present. Skin tones should feel real, highlights should retain softness and shadows should hold depth. I love to work with presets I have made for past weddings and use it as a base to begin with – as I develop it, the preset becomes unique to that wedding and I save it as a new one to go back to.
When mentoring other photographers, I often recommend learning to read your histogram, using tone curves intentionally (both light and the colour curves), and staying disciplined about white balance across a full set. One image might look great with a certain edit, but it has to work within the larger gallery too. That cohesion is what makes your work feel smart.
The Journey to Mastery – Learn, Reflect, Refine & Community
Mastering lighting is a continuous process. Eeeevery day is a school day. Even now, with over a decade of experience, I find myself learning new techniques and refining old ones. Each wedding teaches me something different about the way light behaves, how people move through it, and how quickly everything changes. I even have a little list on my phone which I add to after each wedding that says “things learnt”.
The key is staying teachable. Whether you’re early in your career or looking to elevate your work further, don’t stop asking questions, especially with trusted photographers in your community. Revisit images that didn’t quite work and figure out why. Test your flash on a slow day or take a walk at sunset with your family and observe how the light hits them differently.
Want to Get Better at Wedding Lighting?
If you’re reading this and thinking, “I want to master this,” you’re already on the right track. But you don’t have to do it alone.
I offer one-to-one mentoring for photographers who want to take their lighting, composition, and client experience to the next level. Whether you’re transitioning from portraits to weddings or refining an established brand, I’d love to help you grow your confidence and skill set in a way that feels aligned. Get in touch today!